


Here's what you'll need:
Needles
Thread (it doesn't matter what type but I use hand quilting thread because it's stiffer and tangles less without having to do extra steps like run it through a dryer sheet.)
Small pins
Fabric
Printer paper, card stock or freezer paper, your choice.
Scissors
A printer
A hole punch (optional)
My instructions are for a 1" paper pieced hexagon. A hexagon is measured along one side, not across the middle. If you are using a different sized hexagon, your fabric measurements will be different. For a 1" hexagon you will need a fabric square that is 2.5" x 2.5". You can find measurements for other sizes here.
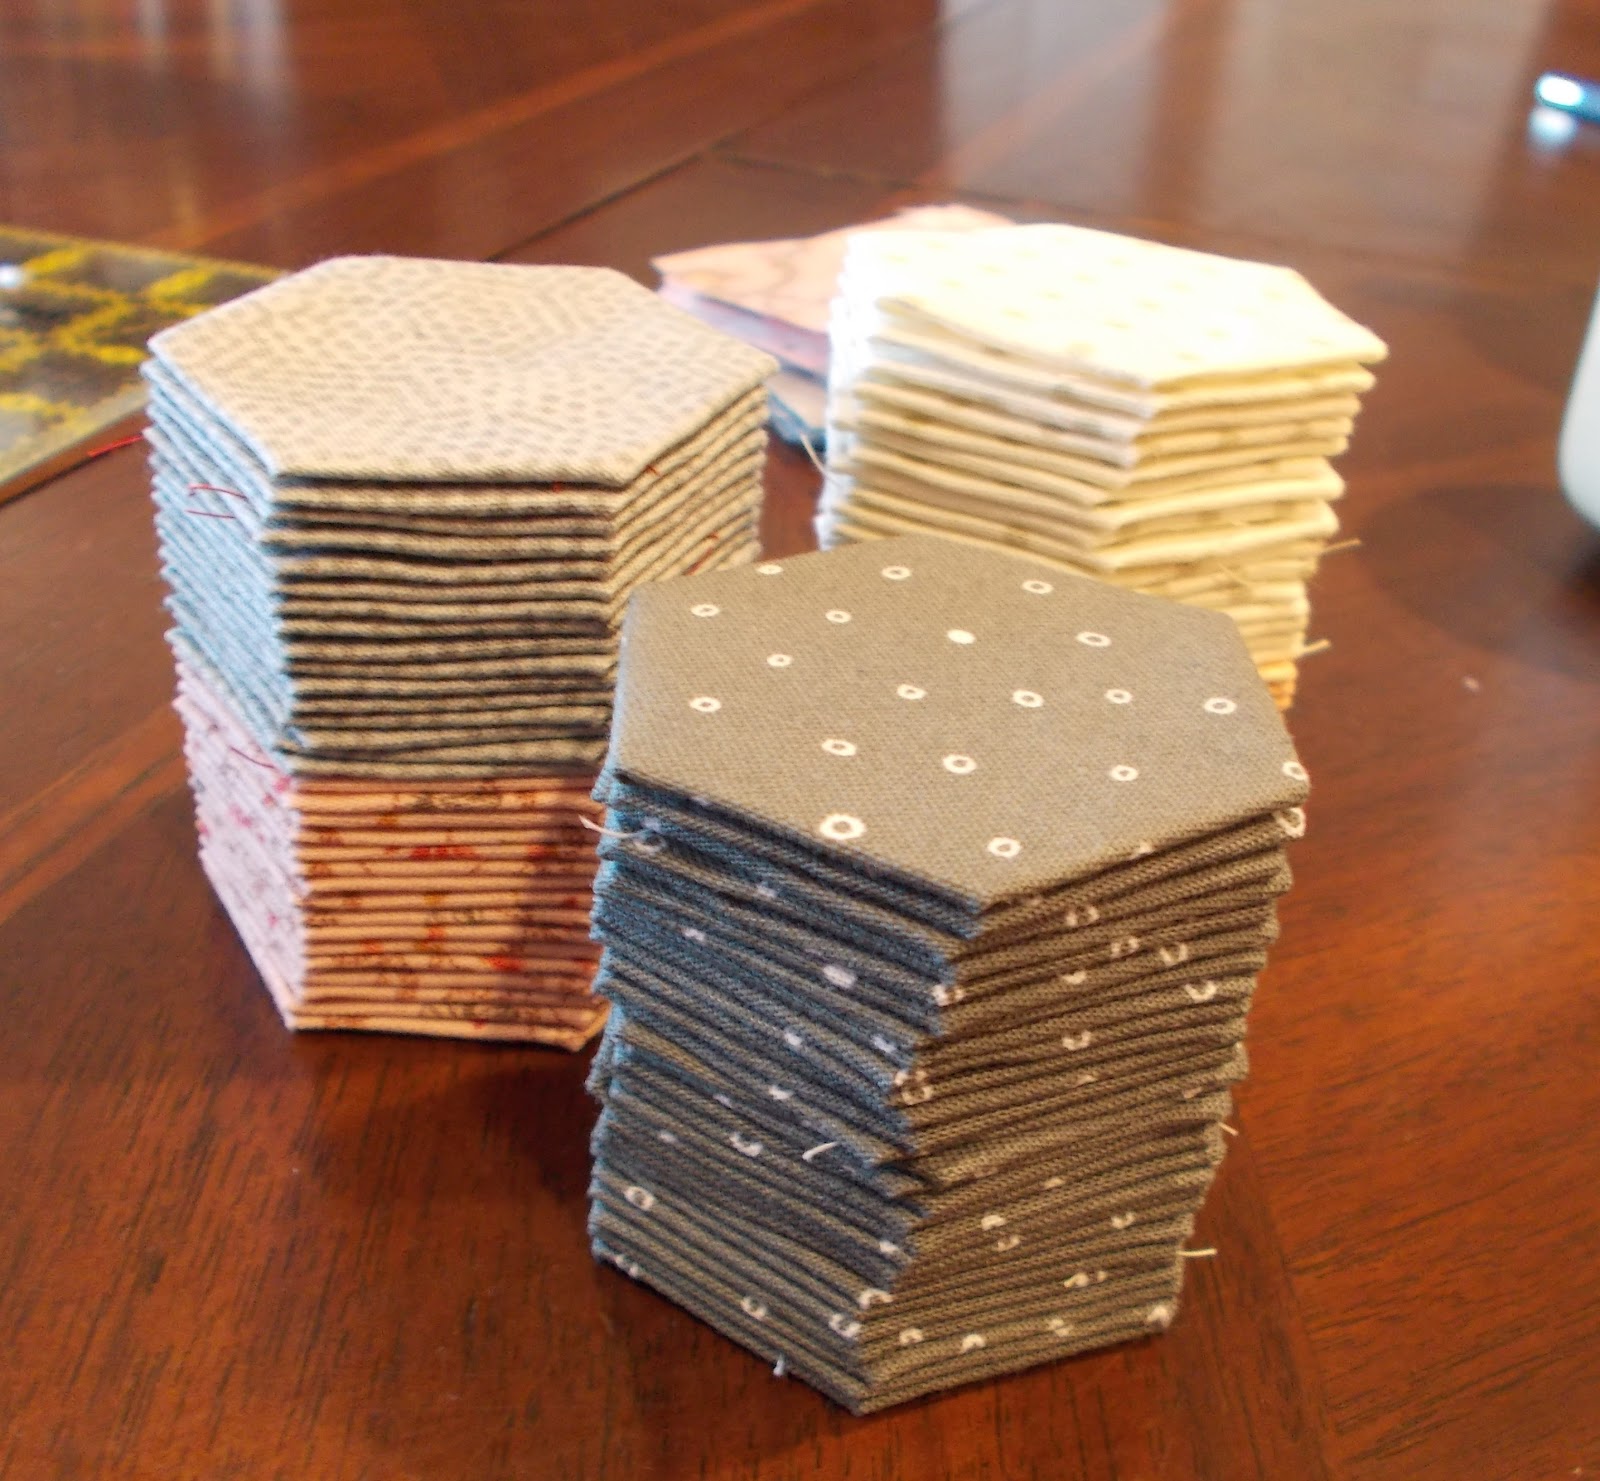
Step 1: Make your paper templates. Print your hexagons onto your paper of choice. Freezer paper is harder to do, but it will iron onto your fabric, which is useful for fussy cut hexes. Measure one side of the hex to be sure your printer didn't resize anything for you, because if it did, you will be very angry later. Carefully cut out your hexes. I like to use this template that Megan showed me, because they are not nested and you don't have to be quite as careful. I find it goes faster even if I'm cutting twice as many edges. Cut out way more than you think you'll use, because you'll get addicted. I like to use a hole punch to punch a hole in the center of each of my paper pieces, because it makes them easier to remove later. This is optional. If you are too lazy or pressed for time to do this, you can order precut papers from www.paperpieces.com. I ordered a small batch to test- they are made of card stock and do not have a hole. They are lovely to work with and the card stock does make making hexes easier, but it is not necessary. I'm not showing you a picture of how to cut paper (that's what kindergarten was for), but here's what they look like when you're done:

Step 2: Cut your fabric into 2.5" squares. You don't need to be exactly precise, so if you have a scrap that is slightly wonky, it'll probably work. You just need to make sure you have about 1/4" margin all the way around. You can fussy cut them, or just whack through a bunch of fabric. I find it more relaxing to not be fussy cut, but it's awfully cute to do a little bird on a hex.

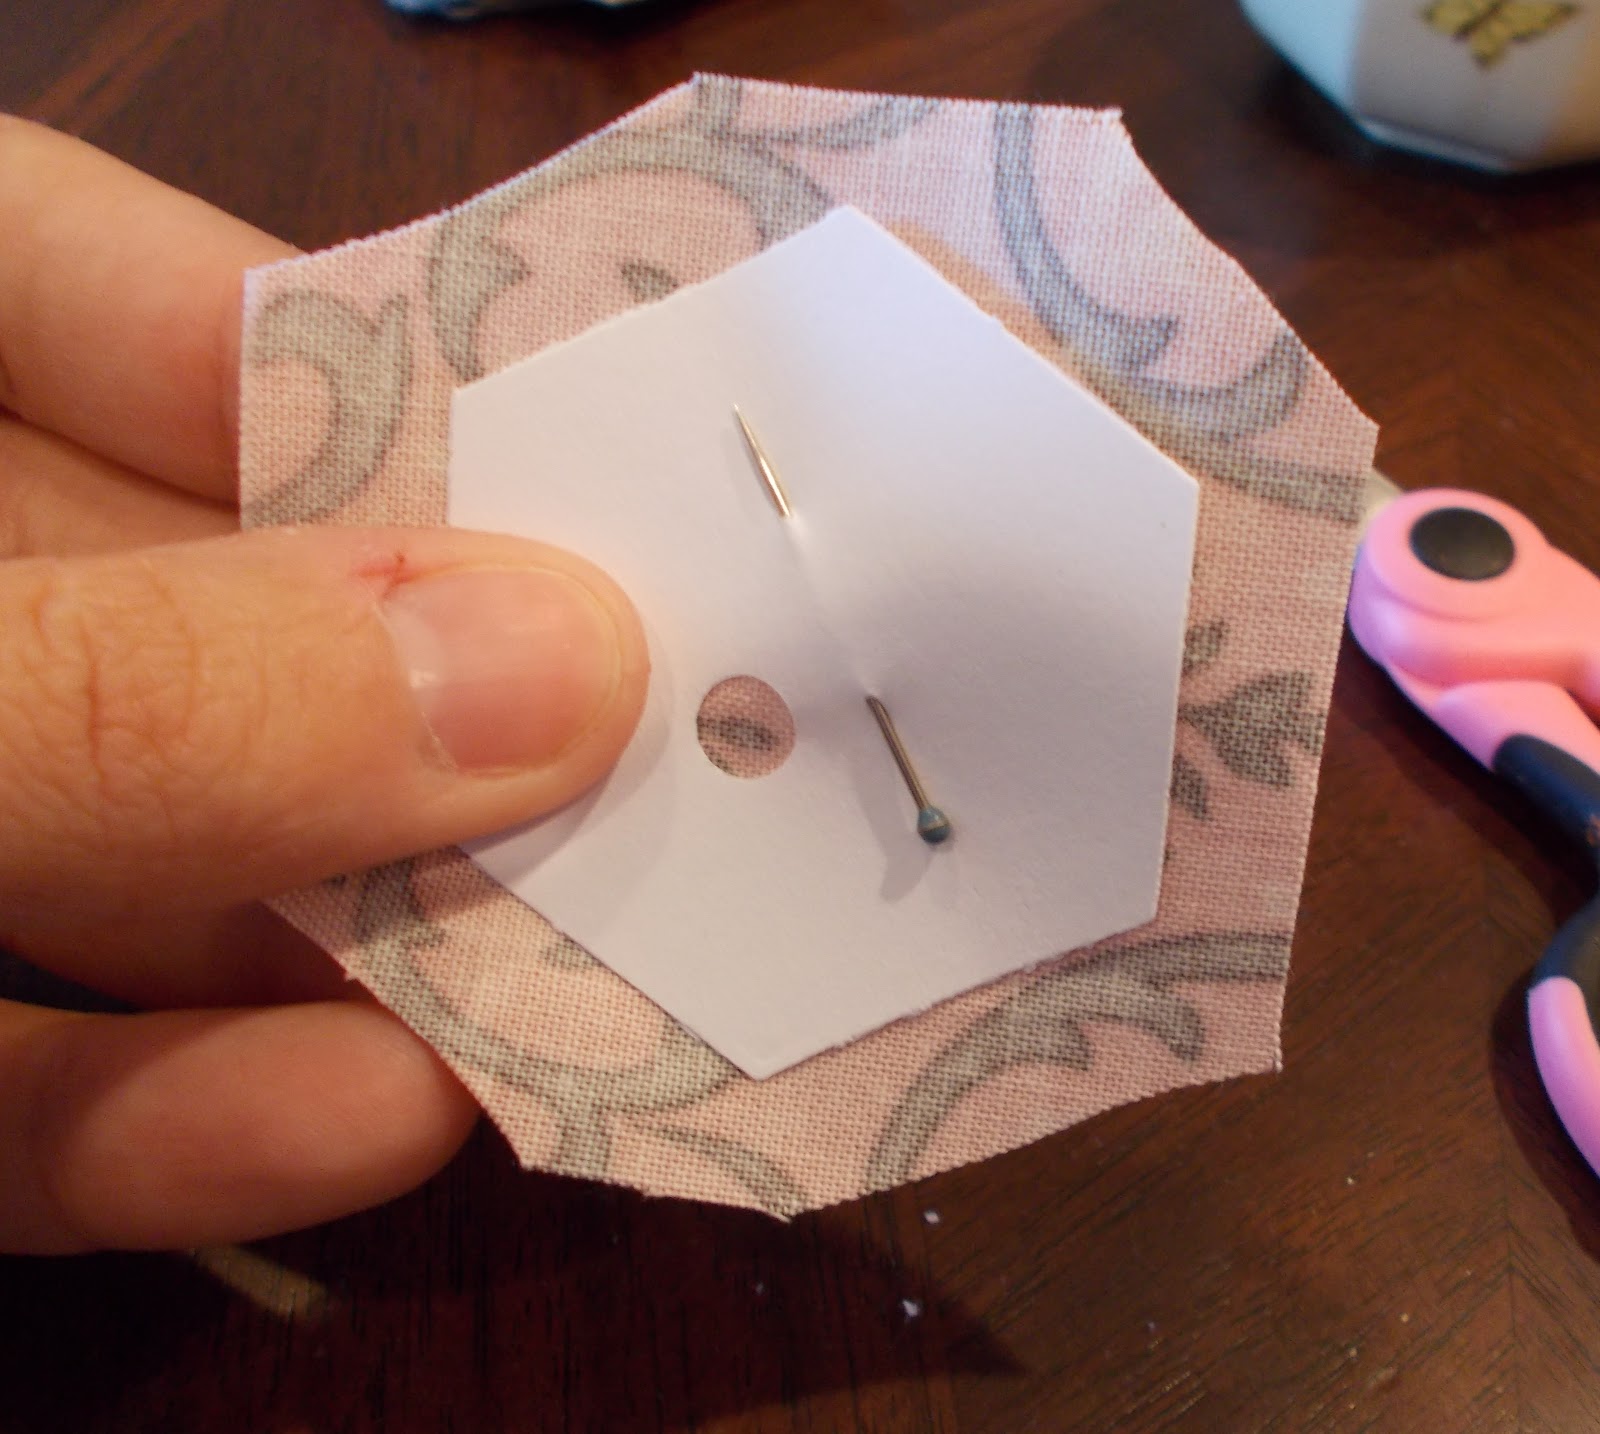
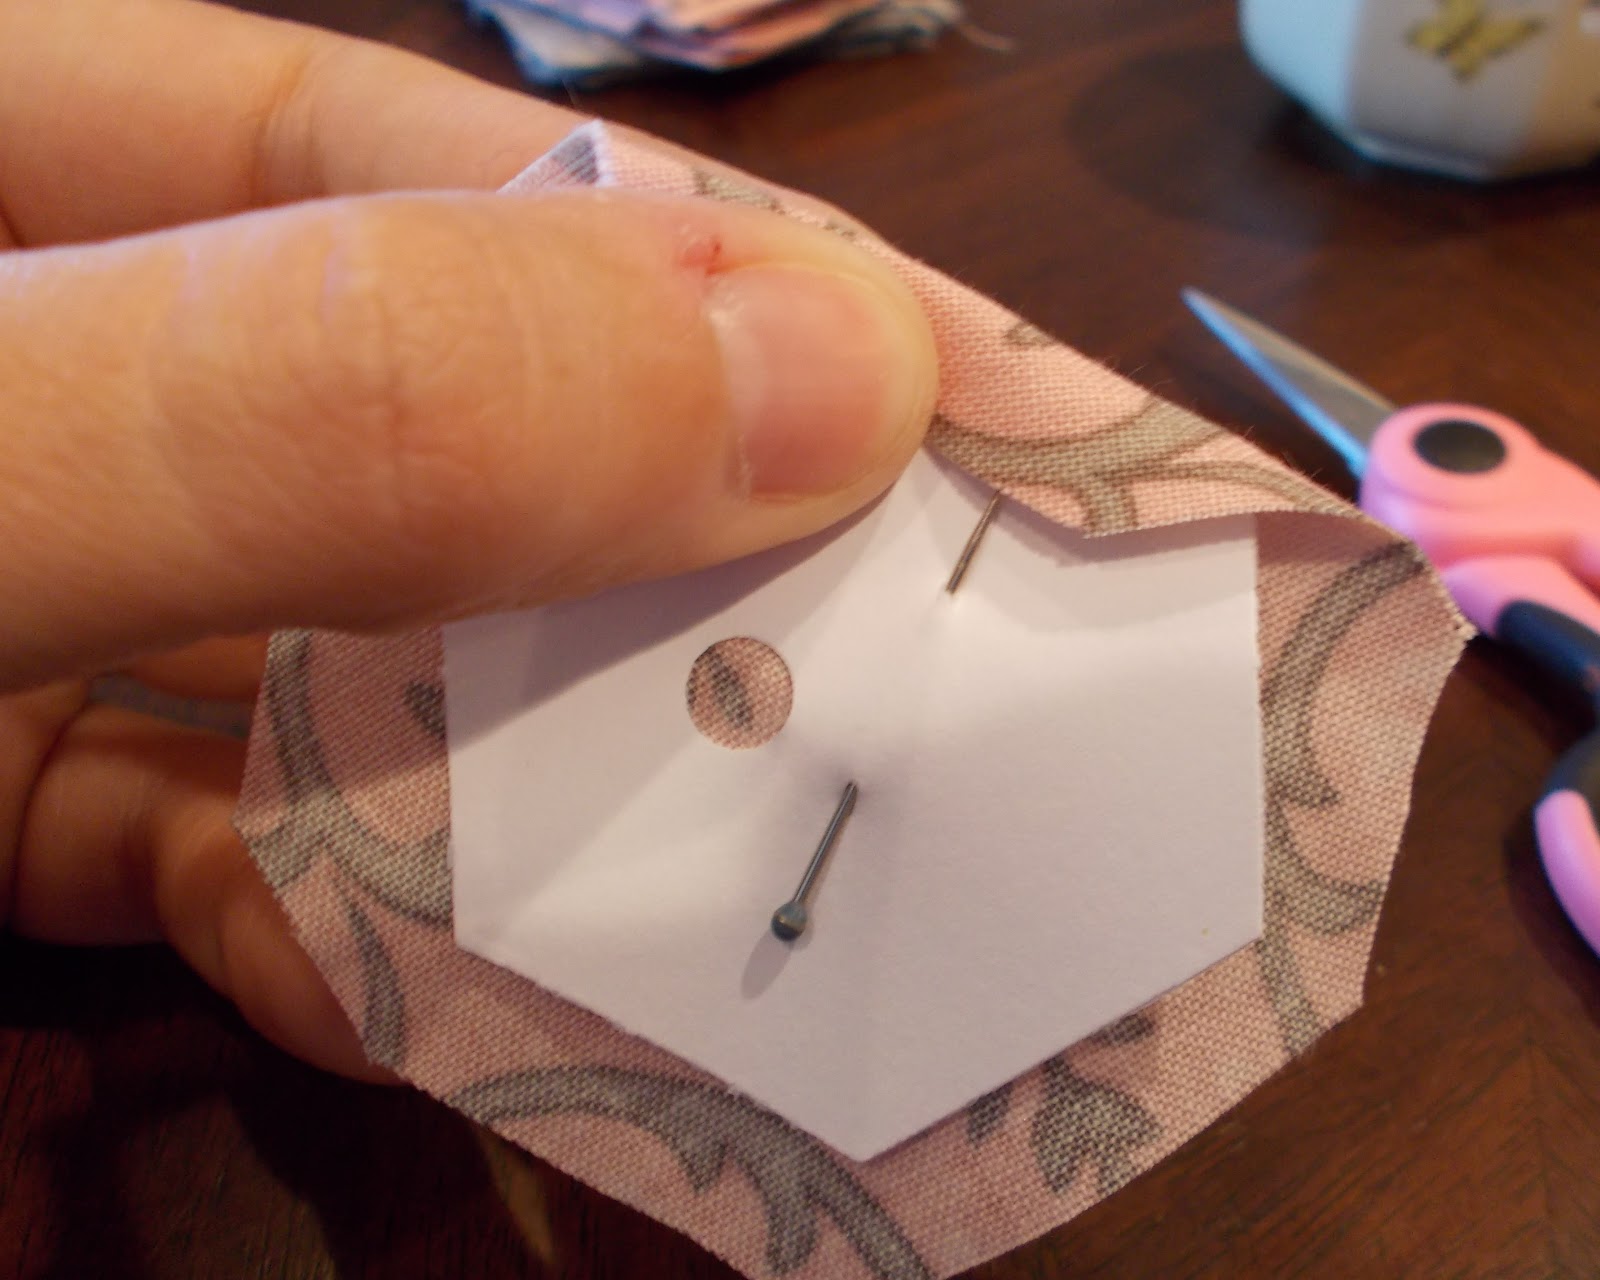
Step 3: Center a paper piece on the WRONG side of your fabric. Some people can pinch it firmly enough to not need to pin it. Some people like to use one pin, some use two. Some people use a couple basting stitches to hold it still. If you use freezer paper you will iron it on. I like to use one tiny pin, and then pinch it. If you find it's still sliding, add a second pin in the shape of an X. You will have little fabric corners hanging off. You can trim those, or not, it's up to you. If you do, leave a 1/4" seam allowance. From what I can tell, this will matter more on hand quilted quilts in the end.

Or with the corners clipped, note how it doesn't have to be precise.
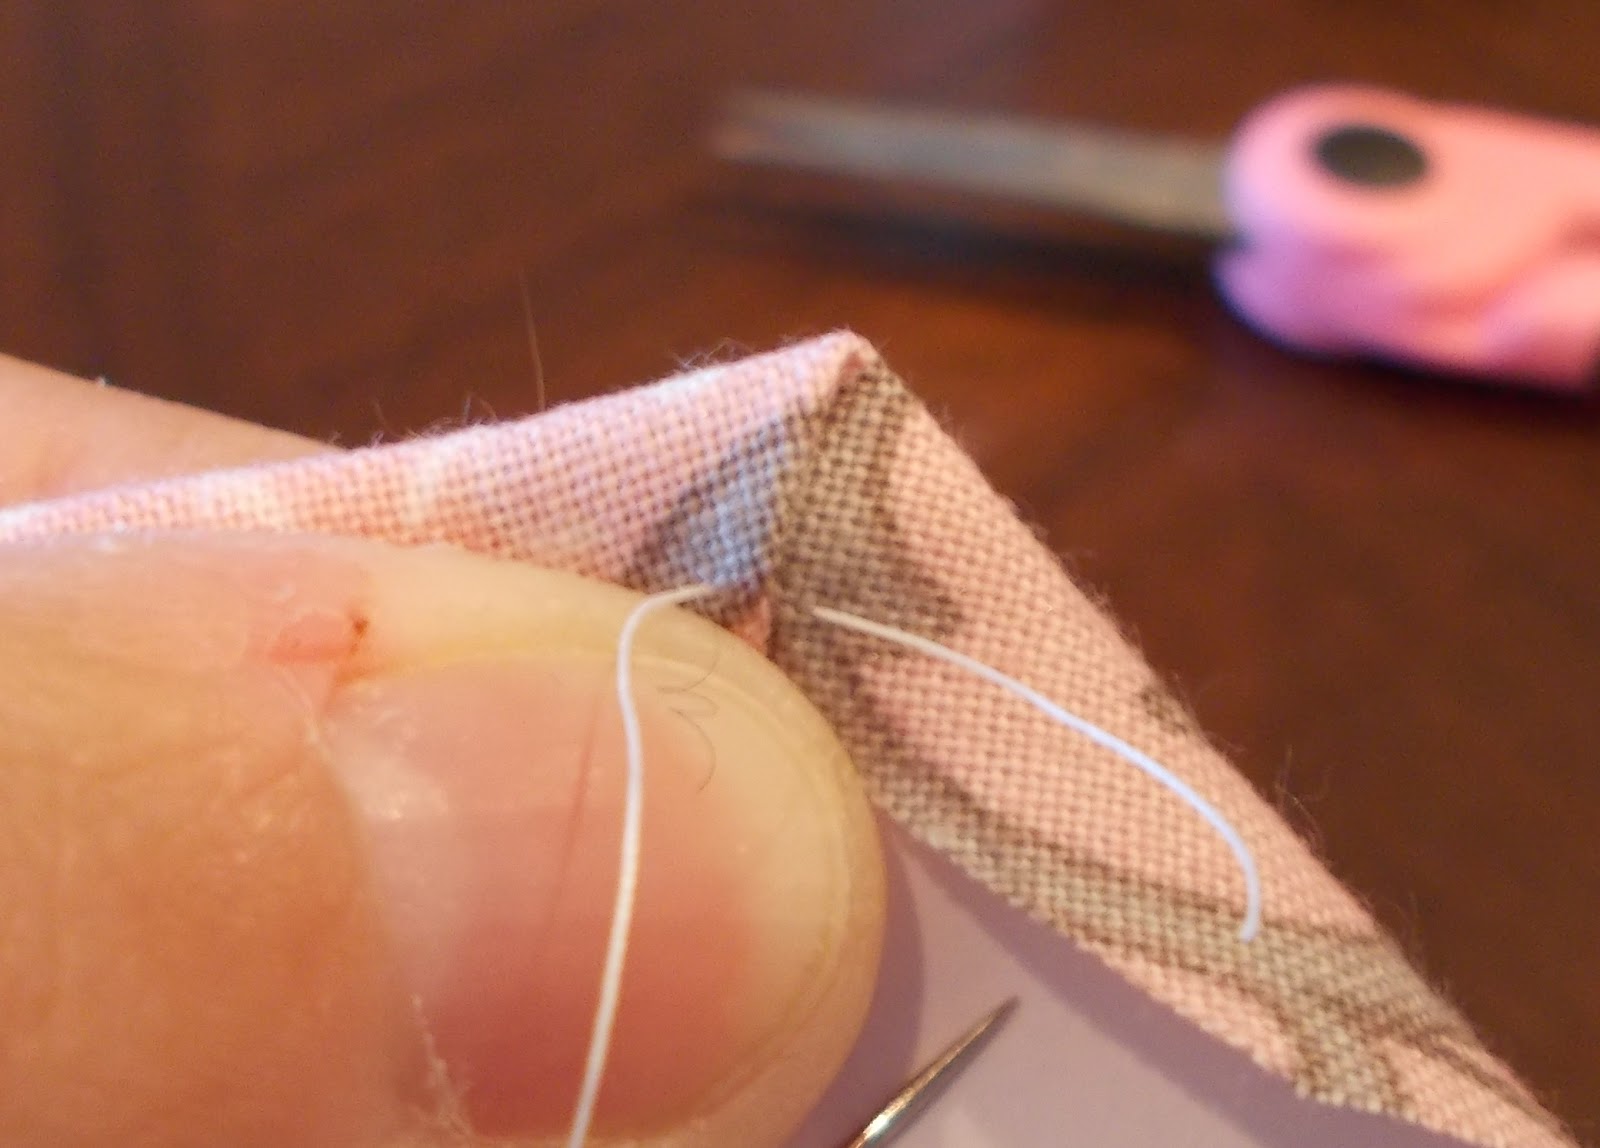
Step 4: The first corner: Carefully fold down the first edge and finger press. I like to start on the side the pin points at, because I find it shifts less that way. You might find differently. Fold down the adjacent side. I work counter clockwise, since I am right handed. Be careful not to get overly enthusiastic and fold down your paper too. It will look like this.

Using a fairly long thread, withOUT a knot, and by coming up from the right side/ bottom make two or three tiny stitches holding that fold down. If you do small tight stitches, and leave about a half inch tail, you do not need a knot. It is much much faster to not tie it off every time. Do NOT stitch through your paper. It will look like this:

Step 5: Working counterclockwise, fold the next corner and tack it down with one stitch. You will work all the way around your paper in this manner. Be careful not to pull the fabric so tight that the fabric shifts on the paper.

Step 6: The last corner, which is the first corner. When you get to the last corner take two or three more tiny stitches, clip your thread and remove the pin. Your hex is done! It will look like this on the back:

The difference between clipping your corners or not.

Step 7: Do it again. And again. And again. Iron those babies crisp and make a little stack. (I like to iron in batches, not one at a time.)
Because you did not sewn through your papers, you do not have to remove the basting stitches later. (Unless you basted the paper to the fabric in step 3. Then you have to remove those.) After you sew your hexes together, you'll stick a chopstick or other pointy thing in the hole you punched and pop all the papers out. Don't do this until it's sewn onto another tho, or it'll lose it's shape. Depending on your layout and paper choice, you may be able to reuse your papers several times before they are ragged. For example, if you do a traditional Grandmother's Flower Garden, you can sew the flowers into units as you go. If you're going to do a more planned layout like my pink and gray hexagon quilt, you will have to make the majority of your hexes before sewing ANY of them together- which means you're gonna need a hell of a lot of papers. You can go here for a calculator to see just how many. If you're lucky, I'll come back and show you how to sew them all together later!
So now you all know how to make English Paper Piecing Hexagons. Go forth and make some! And then come back and leave me a link, ok? And if something seems confusing, let me know.
PS. If anyone wants to make a small handful of pink or gray or pink and gray hexagons I'd love to work them into the quilt I'm making, so I could tell her mommy's friends helped.
You might also be interested in this post where I show my hexagon organization.
EDITED TO ADD: Trish has somehow turned this into an informal quiltalong. There is NO time limit and no formal signup. I created a flickr group so we can share pictures, please ask to join even if you don't plan to jump right in, the more the merrier (but I didn't want just random people adding random pics, so you have to ask.) You can follow us on Twitter with the hashtag #hexchat.


You are the best and I love you. Thank you for doing this and for being patient with my approximately 10 millions questions. :)
ReplyDeleteAnd you've added something new to my knowledge--I've never heard about the chopstick thingy but it makes perfect sense.
This is sooooo tempting. Perhaps it is time for a new hobby.
ReplyDeleteOh you are so awesome. I love that you sew these by hand. Can't wait to see the project come together to a quilt! :)
ReplyDeleteSo, I made a hex, but I don't take the paper out until I sew it to other hexes? And how do I sew them to other ones? Through the paper? I'm so confused!! I'm so bad at this!!
ReplyDeleteWhat if it's the wrong pink? Or the wrong grey?? Also, what if it's hot pink w purple pinstripes?
ReplyDeleteThis is a wonderful tutorial. No-one had ever suggested the punched holes or how to sew without going through the paper to me before. I won't be redoing the nearly 300 hexagons I have done already, but I'll be changing methods for the rest.
ReplyDeleteCan I join in your hexagon-a-long please as I've started one in the last few months. My flickr id is rocalisa. Do you need to add me or can I ask to join myself?
The edges look so crisp after you press them - I might have to try that! Mine flatten out after a little while all stacked up in the sandwich bag, but the edges never look that nice. Great tutorial!
ReplyDeleteGreat tutorial, it's been ions since I did a quilt, I'm thinking a New Years one. I'll keep watching. Love the hole in the middle, I always found removing the paper a pain in the neck.
ReplyDeleteSimple and easy to create...but i think use of video make is best as it makes process of understanding much easy...
ReplyDelete